server环境搭建
node安装
参考另一篇文章
rabbitMQ 安装
brew安装
1
2
#mac
brew install rabbitmqdocker rabbitmq安装
1
$ docker pull rabbitmq
启动rabbitmq
- brew 启动
1
$ brew services start rabbitmq
- docker 启动
1
$ docker run -d --hostname rabbit --name myrabbit -p 15672:15672 -p 5672:5672 --rm rabbitmq:3-management
- 端口介绍
5672:通信默认端口号
15672:管理控制台默认端口号
25672:集群通信端口号
访问- guest/guest
coding
node
amqplib安装
1 | $ npm install amqplib |
callback 方式
require package
1
2
3
4
5
6
7
8
9
10const amqplib = require("amqplib/callback_api");
amqplib.connect('amqp://localhost:5672',(err,conn) => {
if(err){
console.error(err);
return;
}
sendMsg(conn);
receiveMsg(conn);
});publisher
1
2
3
4
5
6
7
8
9
10
const topic = 'message';
function sendMsg(conn){
conn.createChannel((err,ch) => {
if(err){return;}
ch.assertQueue(topic);
ch.sendToQueue(topic,Buffer.from('hello world ,this is from rabbitmq'));
})
}consumer
1
2
3
4
5
6
7
8
9
10
11
12
13
14
15
16
17
18function receiveMsg(conn){
conn.createChannel((err,ch) => {
if(err){
console.error("receive msg error",err);
return;
}
ch.assertQueue(topic);
ch.consume(topic,(msg) => {
if(!msg){
console.log('receive nothing....');
return;
}
console.log('receive msg....',msg.content.toString());
// ch.ack(msg);
});
});
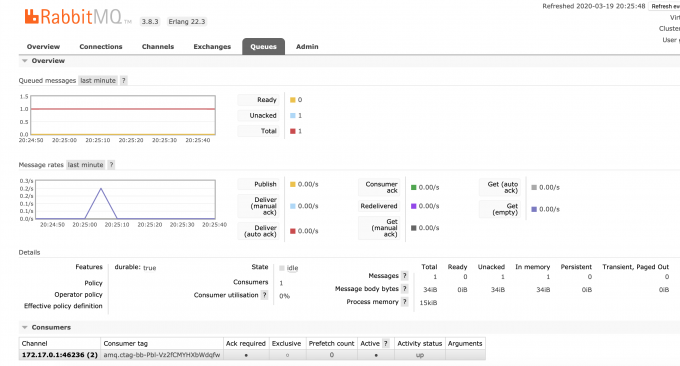
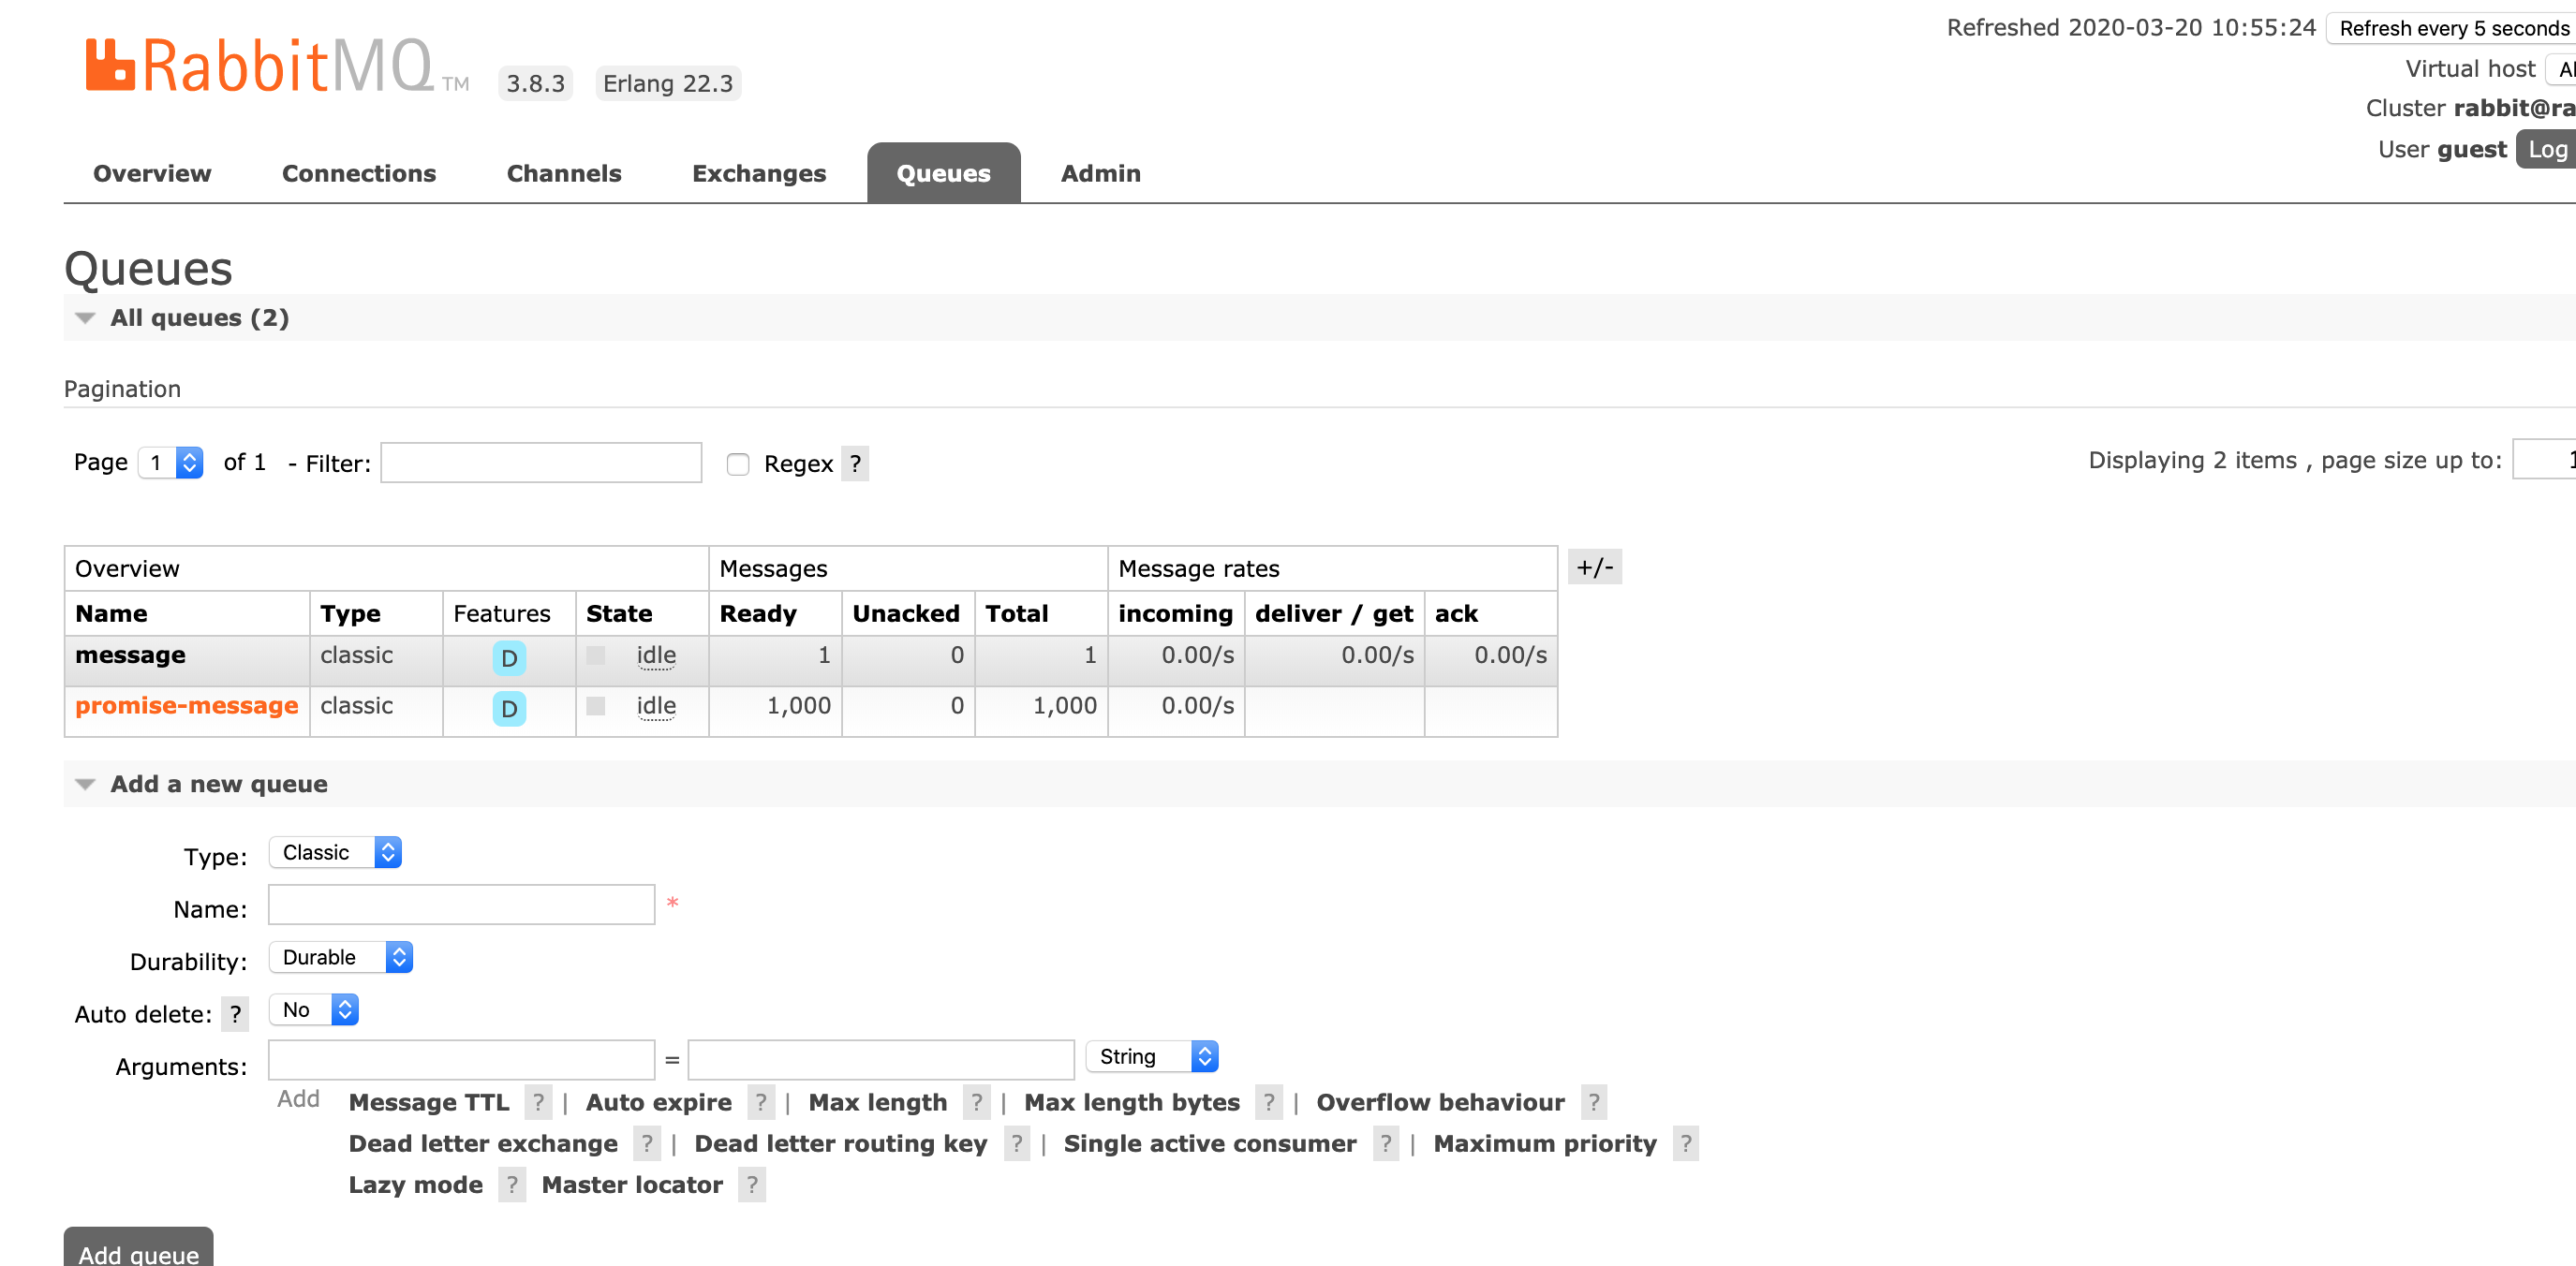
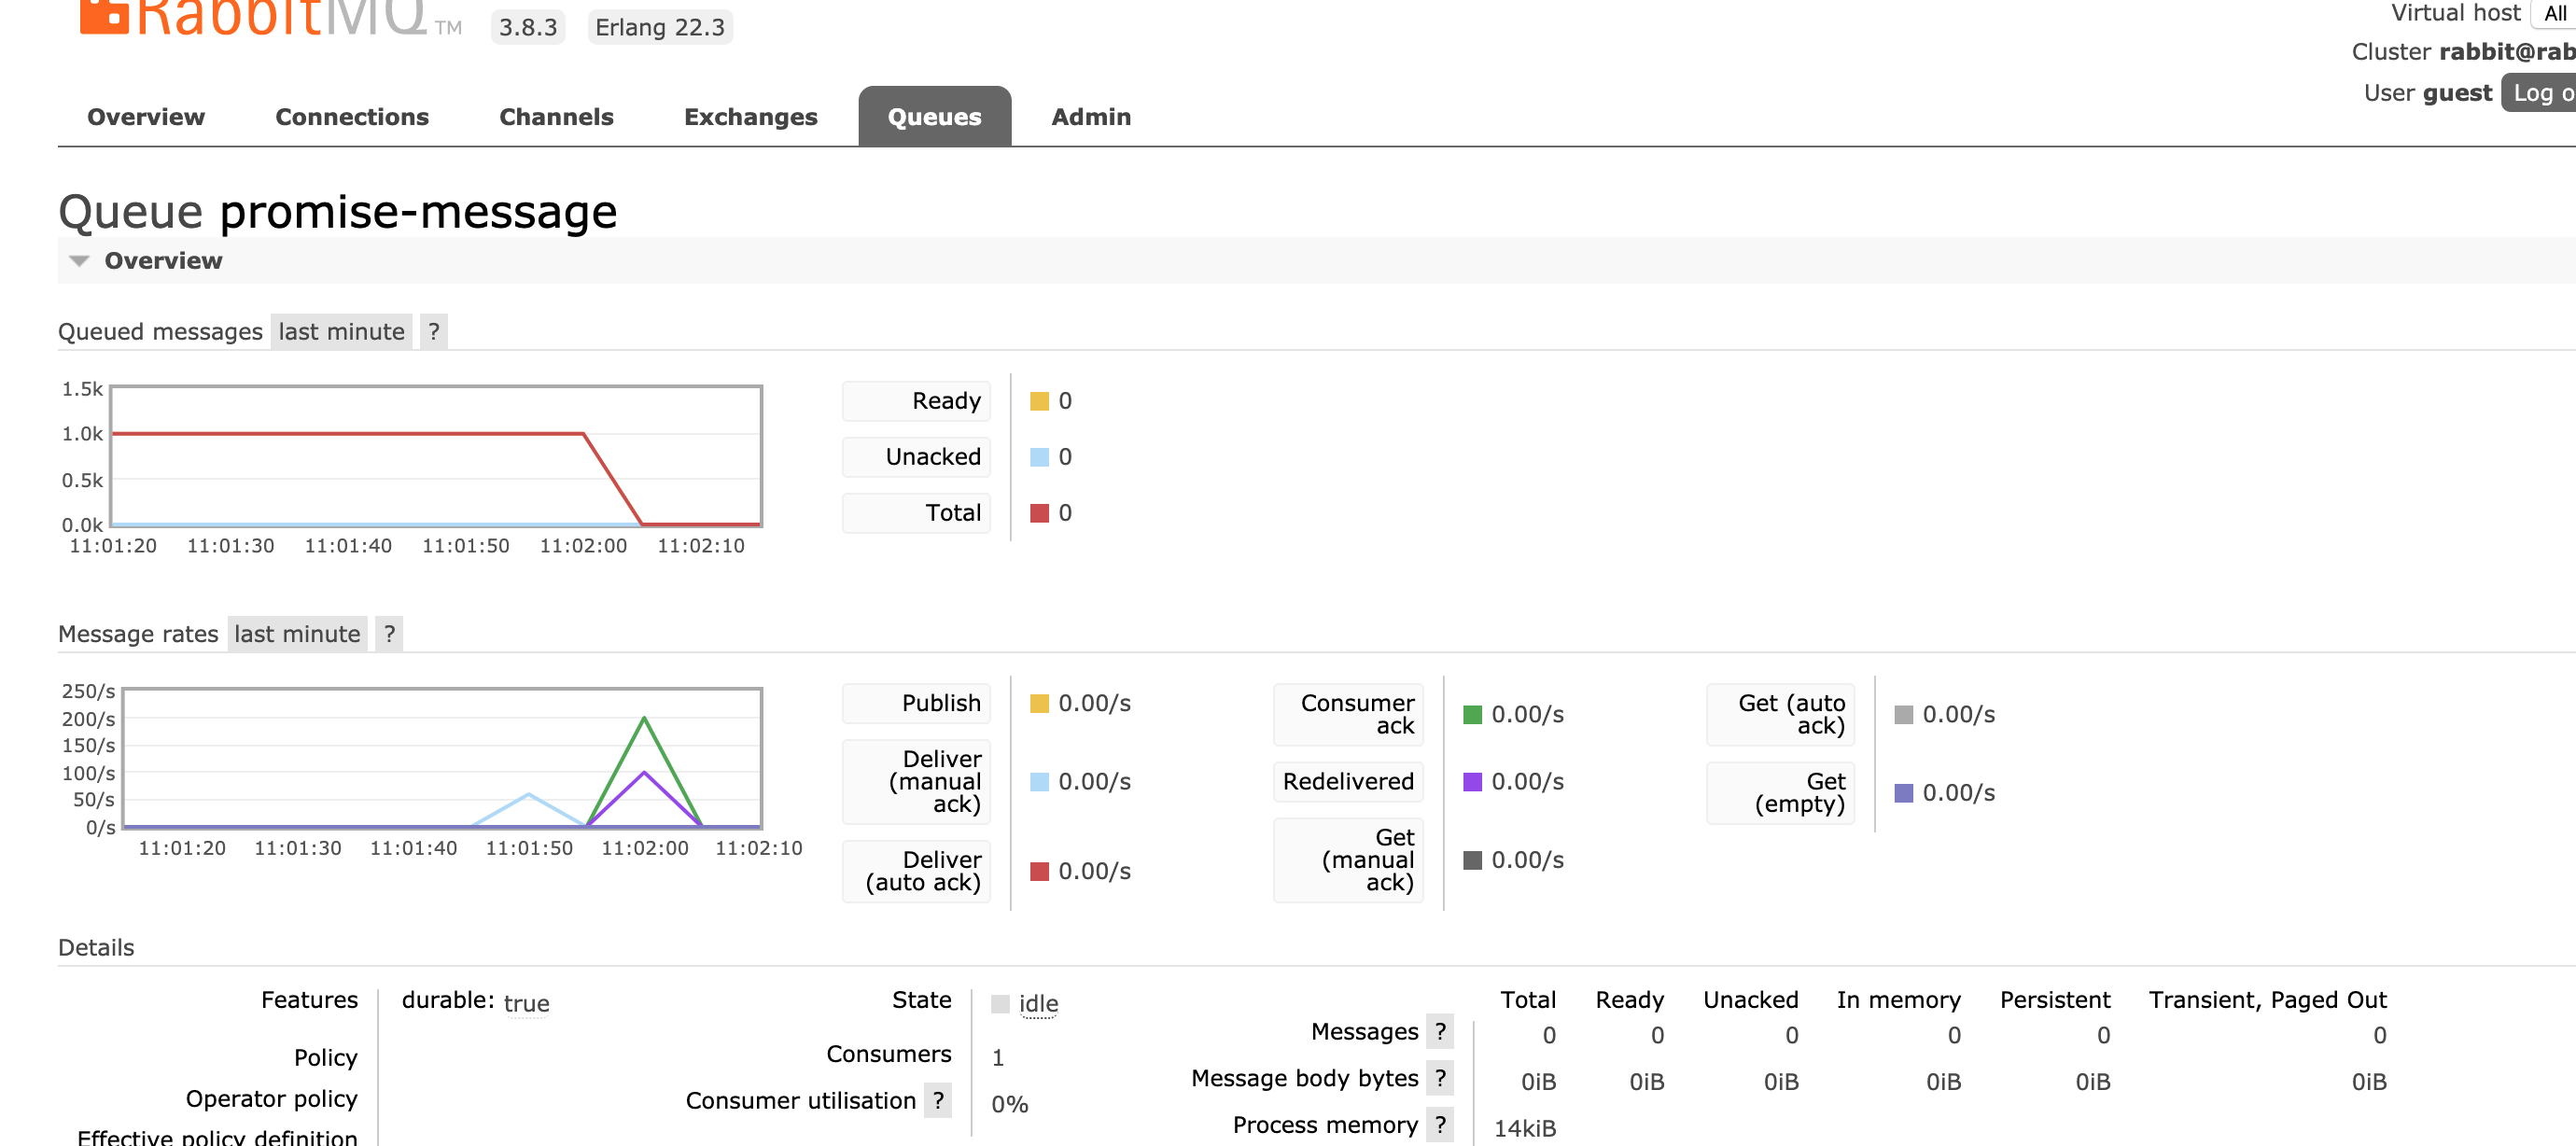
}消息展示

promise 方式
- publish
1
2
3
4
5
6
7
8
9
10
11
12
13
14
15
16
17//1.建立连接
const conn = await amqplib.connect("amqp://localhost:5672");
//2. 建立通道
const ch = await conn.createChannel();
//3.不指定exchange,走默认的exchange
//4.声明队列,
await ch.assertQueue(queue);
//5.发送信息到queue
for(let i = 0;i < 1000;i++){
const msg = `message:${i} from publish `;
console.log(msg);
await ch.sendToQueue(queue,Buffer.from(msg));
// await ch.publish('',queue,Buffer.from(msg));
}

- consume
1
2
3
4
5
6
7
8
9
10
11
12
13
14
15
16
17
18//1.建立连接
const conn = await amqplib.connect('amqp://localhost:5672');
//2.创建通道
const ch = await conn.createChannel();
//3.声明channel
await ch.assertQueue(queue);
await ch.consume(queue,(msg) => {
if(!msg){
console.error('consumer msg err...')
return;
}
console.log(msg.content.toString());
//确认消费应答,queue删除消息
ch.ack(msg);
});

github code
代码已上传,欢迎star
好文推荐
赏
使用支付宝打赏
使用微信打赏
若你觉得我的文章对你有帮助,欢迎点击上方按钮对我打赏

